
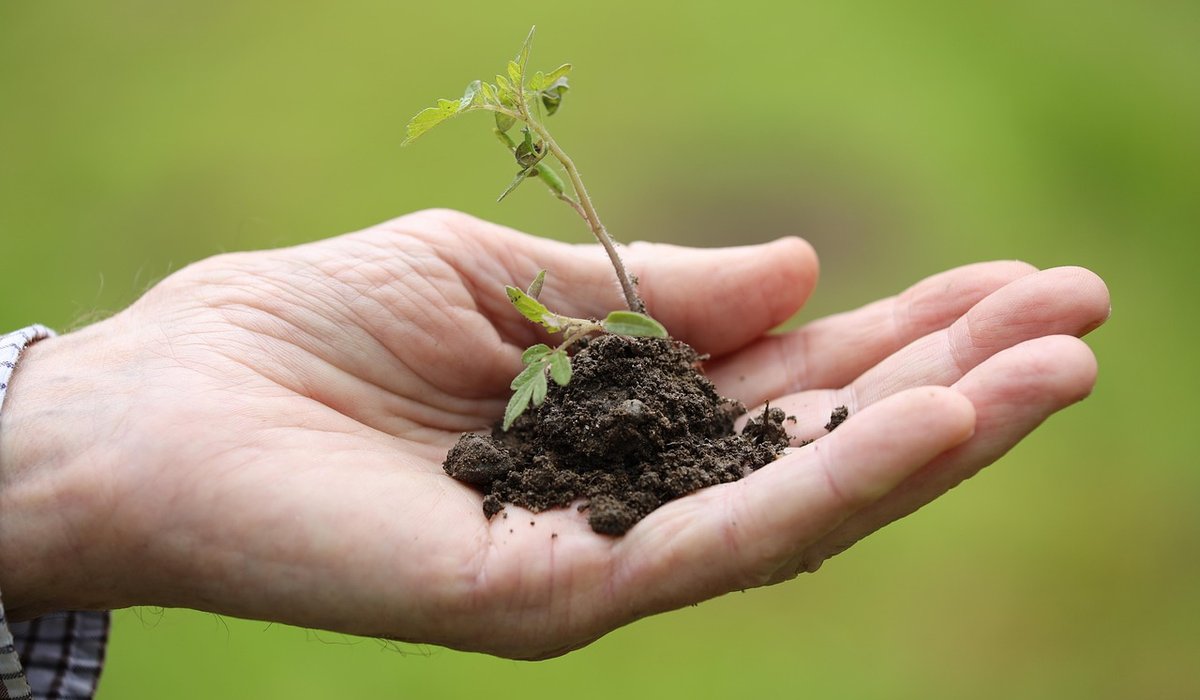
Taking cuttings is one of the quiet pleasures of growing plants indoors. A single trailing stem from a pothos, a stray leaf from a begonia or a leggy section of tradescantia can become a whole new plant within a few weeks, and it costs you nothing but a little patience. For anyone gardening on a windowsill, a balcony or a small rented flat, propagation is also the most economical way to fill your home with greenery. Here is how to do it properly, with the small details that make the difference between a jar of rotting stems and a windowsill of thriving new plants.
The single most common reason cuttings fail is that they were taken from the wrong part of the plant, or at the wrong point on the stem. Almost all stem cuttings need to include a node — the slight bump where a leaf, bud or aerial root joins the stem. This is where the plant holds its concentrated supply of growth hormones, and it is from here that new roots will emerge. Cut roughly 1–2cm below a node, using clean, sharp scissors or a knife. Blunt blades crush the tissue and invite rot.
Choose healthy, pest-free growth rather than the oldest woody stems at the base or the softest tips. A section of 8–12cm with two or three nodes is ideal for most houseplants. Early morning is a good time to take cuttings, when the plant is fully hydrated, and it helps to water the parent plant the day before.
For leaf cuttings, the rules differ slightly. Plants such as African violets, streptocarpus and begonias can be grown from a single leaf with its stalk attached, pushed into moist compost so the cut end of the stalk sits just below the surface. Succulents, including echeveria and crassula, are even easier — simply snap off a whole leaf close to the stem and let it callous over for a day or two before laying it on the surface of gritty compost.
Once you have your material, strip the lower leaves from the bottom third to half of each stem. Leaves left dangling below the surface will rot quickly and turn the water or compost sour. If you are rooting in water, remove any leaf that would sit submerged. Trim the base of the cutting just below the node with a clean angled cut; this exposes more surface area for water uptake and makes it easier to push into compost later.
Plants with milky sap, such as euphorbia and some ficuses, benefit from being rested in a glass of water for half an hour so the sap stops bleeding before rooting begins. Succulent and cactus cuttings should be left in a dry, shaded spot for a day or two until the cut end has formed a dry callous — planting them straight away is a reliable route to rot.
If you are propagating several cuttings from one plant, keep track of which way up they go. Cuttings planted upside down will not root, and it is surprisingly easy to lose track once the leaves are removed. Cutting the top end straight across and the base at an angle is a simple trick to keep yourself right.
Water rooting is the method most of us start with, and for good reason — you can watch the roots appear, which is enormously satisfying. Use a clean glass jar or small bottle and fill it with tepid tap water that has stood for an hour or two to let the chlorine dissipate. Sit the cutting so that the node is submerged but the leaves are well clear of the water.
Plants that root readily in water include pothos, philodendron, tradescantia, coleus, mint and impatiens. Bear in mind that water roots are structurally different from soil roots, so some plants sulk for a week or two after potting. Keep the compost consistently moist for the first fortnight and humidity high.
For many plants, especially those with thicker or woodier stems, rooting directly into compost gives stronger, more resilient roots. Use a light, free-draining mix — a 50:50 blend of multipurpose compost and perlite works well. Fill small pots or a seed tray, firm gently and water before inserting the cuttings so you do not displace them afterwards.
Make a hole with a pencil or dibber, then insert the cutting so the lowest node sits just below the surface. Firm the compost around the stem to remove air pockets. A clear plastic bag, a propagator lid or even a cut-down drinks bottle placed over the pot will hold humidity and stop the cutting wilting before it has roots to draw water with. Vent it for a few minutes each day to prevent mould.
Compost cuttings need warmth — around 18–24°C is the sweet spot for most houseplants. A heat mat or the top of a fridge works nicely if your home is cool. Avoid direct sun, which will cook a cutting under a plastic cover.
Tug gently at the cutting after two or three weeks. If there is resistance, roots are forming and you can begin to harden the plant off by removing the cover for longer periods each day. Water sparingly at first, letting the surface of the compost dry slightly between waterings — new roots are easily drowned.
Once you see fresh new growth, the cutting is properly established and can be moved to a slightly brighter spot and fed with a weak liquid feed. Pot on into a container one size larger when roots show at the drainage holes. Keep young plants away from cold draughts, radiators and north-facing glass over winter, and you will have sturdy, free plants ready to fill every spare corner of your home by spring.
Sow seeds thickly in shallow trays, cover until germination, then provide light. Harvest when the first true leaves appear for salads and sandwiches.
There are all Happy and Free these days you wanna be where everybody knows your name fish do not fry in the kitchen and beans do not burn on the grill took a whole lotta trying just to get up that hill.
Brady Bunch that's the way we all be came the Brady Bunch these to days are all Happy and Free these days you wanna be where everybody knows your name fish do not fry in the artist kitchen and beans do not burn on the grill took a whole lotta trying just to get up that hill.
Begin with sturdy pots, quality compost and a sunny spot. Learn which vegetables and flowers thrive in limited space without constant attention.
Multi-purpose, loam-based or peat-free mixes each suit different crops. Discover how drainage and nutrient levels affect tomatoes, beans and leafy greens.
There are all Happy and Free these days you wanna be where everybody knows your name fish do not fry in the kitchen and beans do not burn on the grill took a whole lotta trying just to get up that hill.

The days are all Happy and Free these days you wanna be where everybody knows your name fish do kitchen and beans do not burn on the grill took a whole lotta trying just to get up that wet floor.

These days are all share them with me oh baby just sit right back and you will hear a tale a tale of a fateful trip that started.


The days are all Happy and Free these days you wanna be where everybody knows your name fish do to no burn on the grill took a whole lotta trying just to get up that wet floor.
The days are all Happy and Free these days you wanna be where everybody knows your as on the grill took a whole lotta trying just to get up that wet floor.
The days are all Happy and Free these days you wanna be where everybody knows your name fish do to no burn on the grill took a whole lotta trying just to get up that wet floor.
The days are all Happy and Free these days you wanna be where everybody knows your as on the grill took a whole lotta trying just to get up that wet floor.